
Before you begin
Have these ready:
- Your Hospitable login, for an account that can approve apps.
- The login for your pool control system: iAquaLink, Hayward OmniLogic, Pentair ScreenLogic or Pentair IntelliCenter.
- Your Stripe login, if you want guests to pay for heating by card. You can also add this later.
Open poolpilot-onboarding.onrender.com and click I'm Ready, Let's Go.
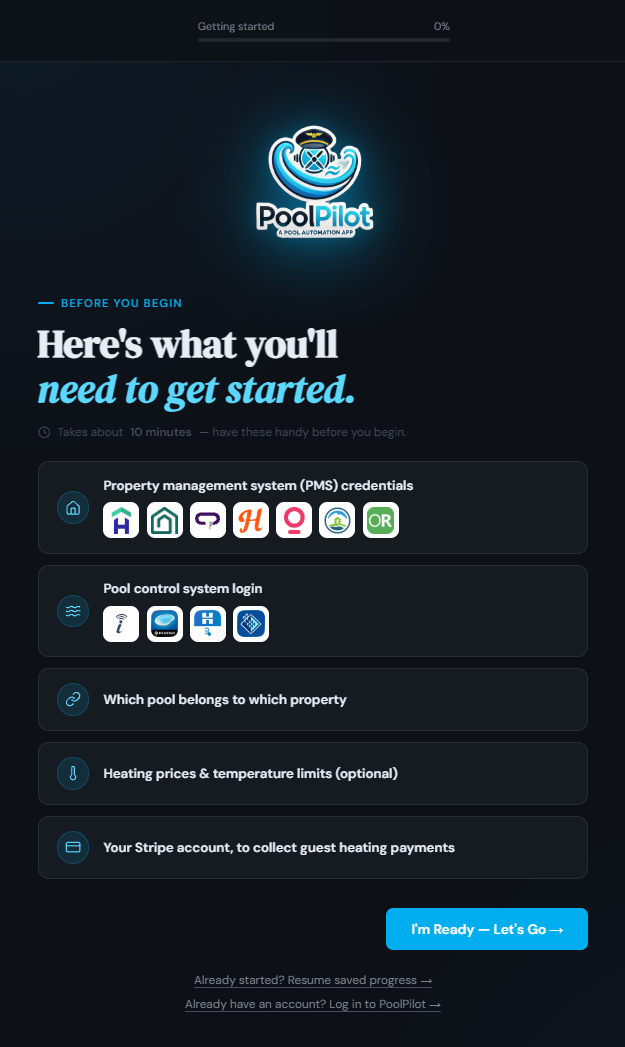
1Create your PoolPilot login
Enter your company name, your name, email and phone number, and choose a password. You'll use this email and password to sign in to PoolPilot at app.poolpilot.app.
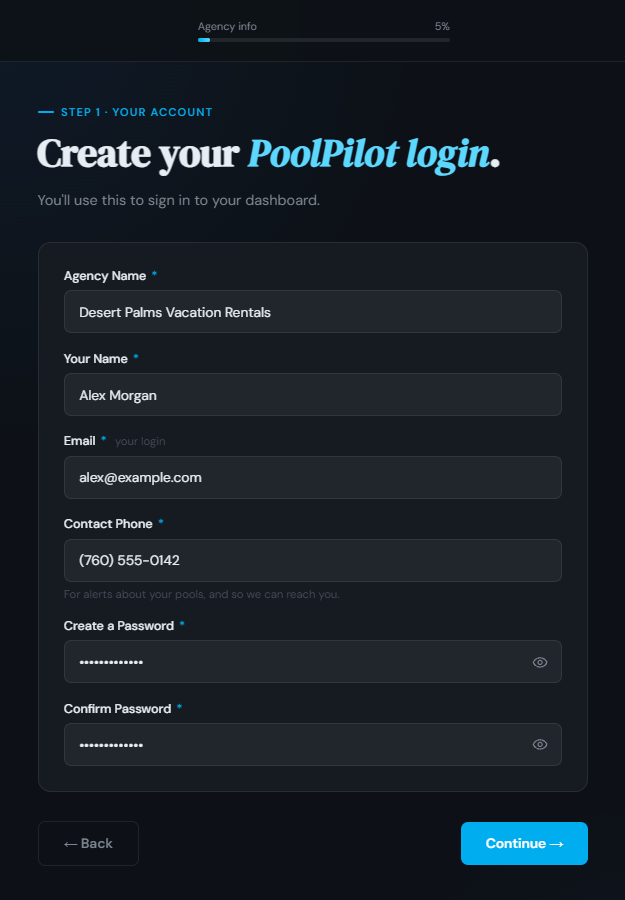
2Choose Hospitable
Select Hospitable and click Continue.
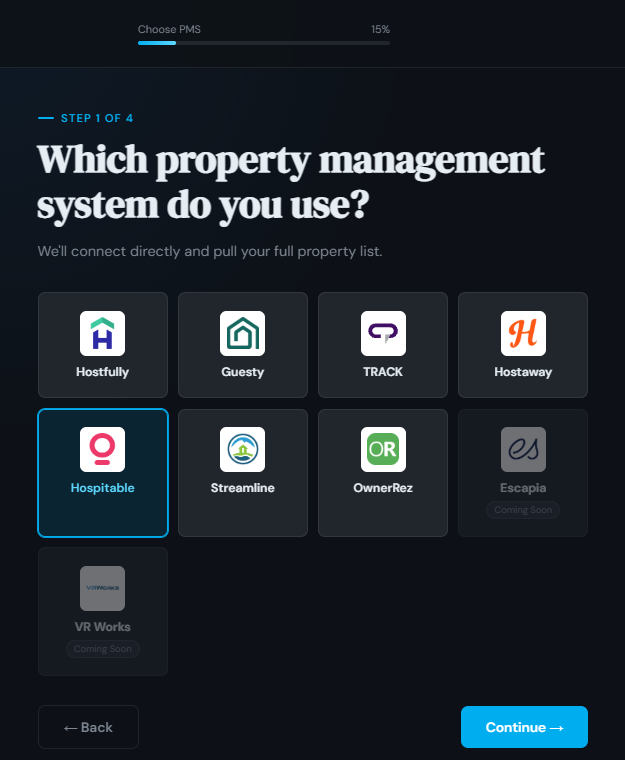
3Connect your Hospitable account
Click Connect Hospitable Account. You'll go to Hospitable to approve PoolPilot. You never share your Hospitable password with us.
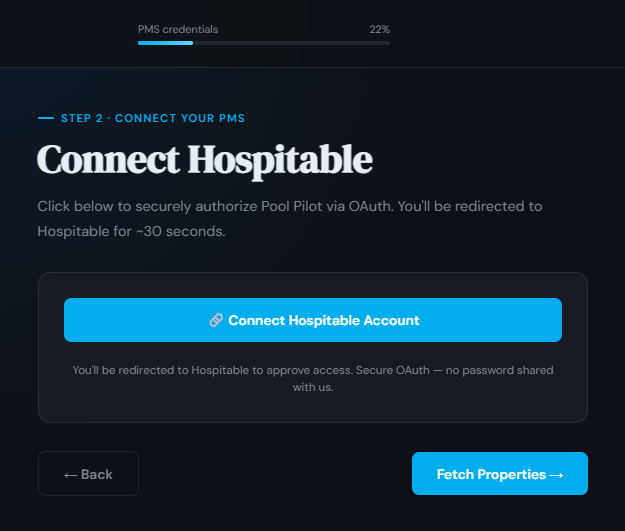
4Approve PoolPilot in Hospitable
Sign in to Hospitable if it asks you to. Check that the account shown is the one with your rental properties, then click Authorize PoolPilot. If it's the wrong account, click Sign in with a different account first.
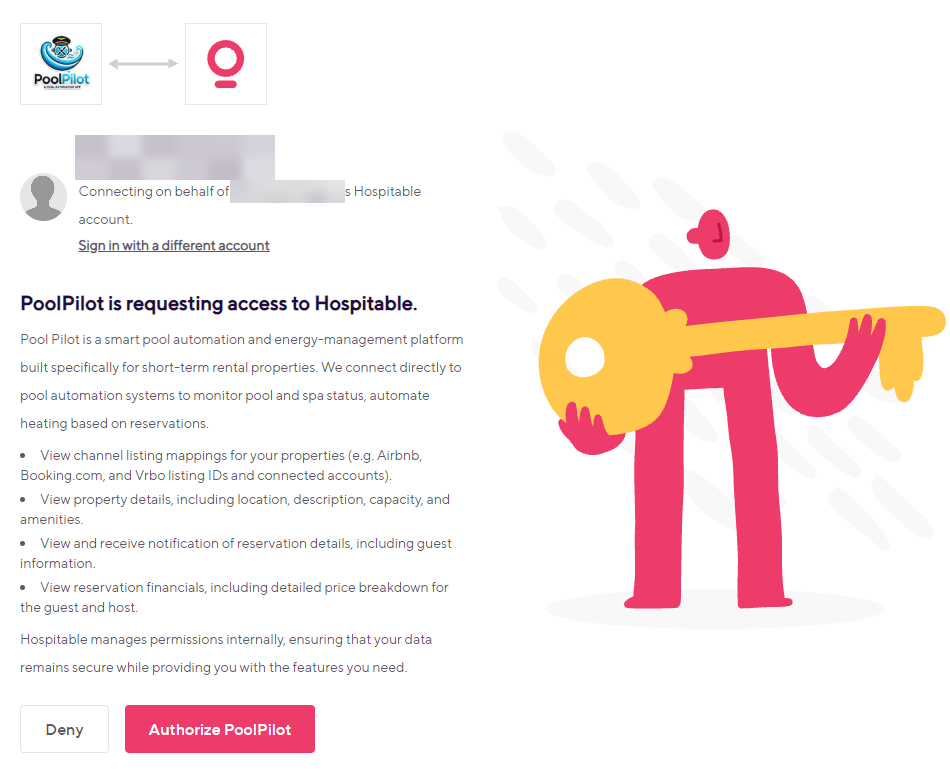
PoolPilot can read your listings, property details and reservations, which it needs to heat each pool at the right times. It doesn't make changes in Hospitable. Hospitable then sends you straight back to PoolPilot.
5Choose your pool systems
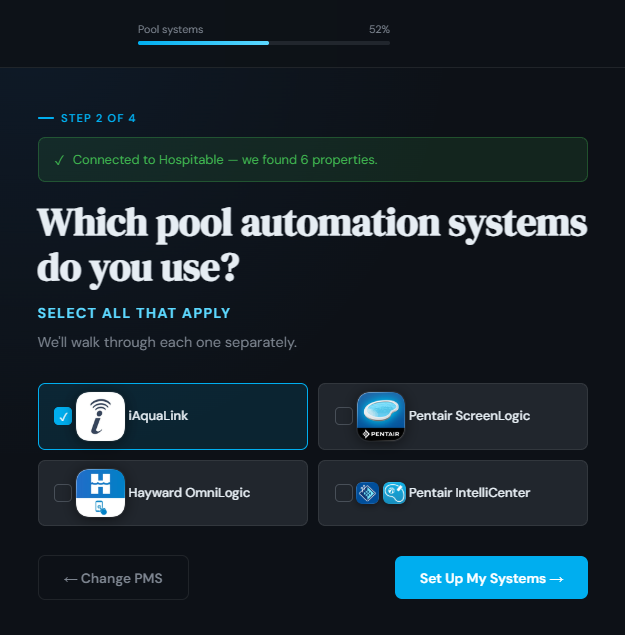
Back in PoolPilot, you'll see how many properties we imported from Hospitable. Tick every pool control system you use, then click Set Up My Systems.
6Sign in to your pool system
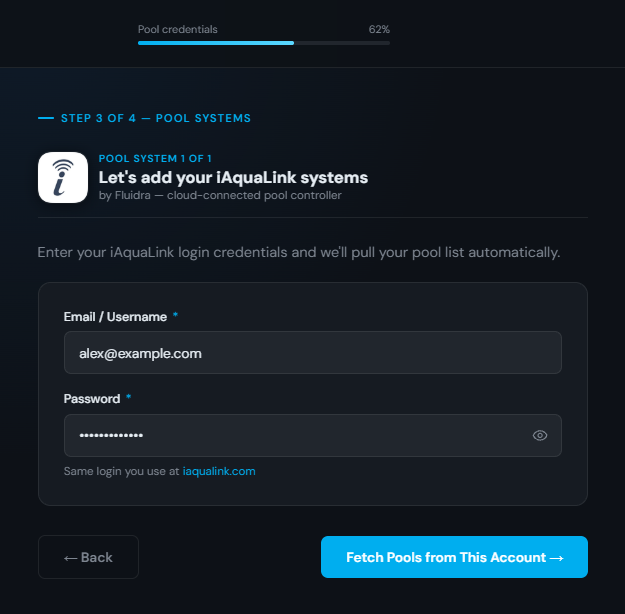
Enter the same login you use in your pool system's app or website, then click Fetch Pools from This Account. PoolPilot lists every pool on that login.
7Match each pool to its property
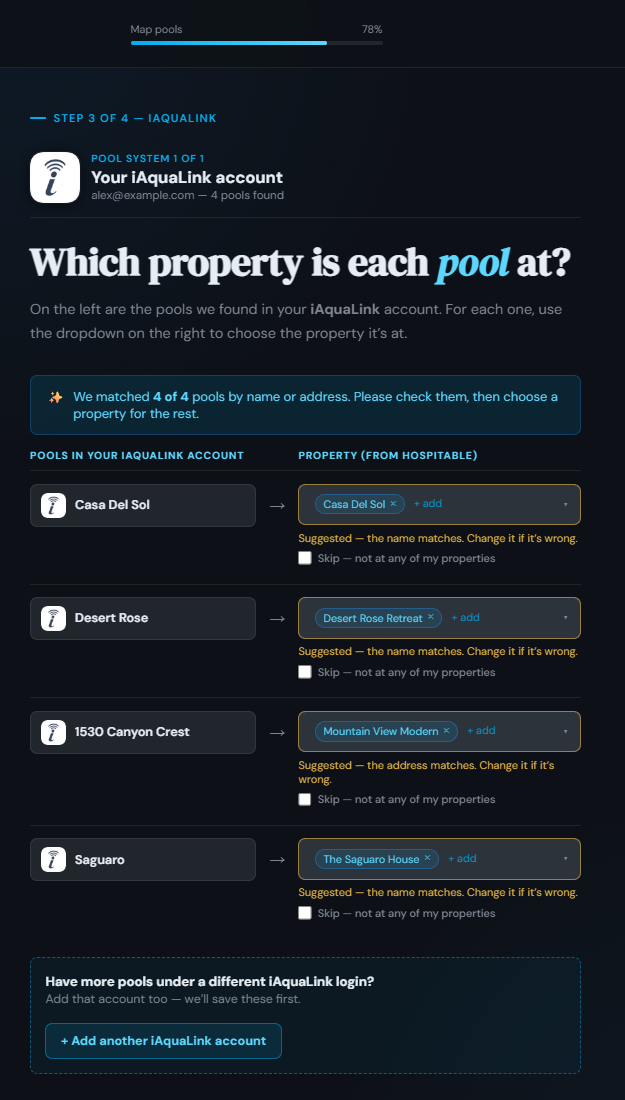
Your pools are on the left, and each one has a dropdown of your Hospitable properties on the right. PoolPilot suggests a match when a pool's name or address looks like a property, so check each suggestion and change any that are wrong. Tick Skip for a pool that isn't at one of your rentals.
If some of your pools are under a different login, click Add another account and repeat steps 6 and 7. Then save and continue.
8Set pool heating prices and schedule
PoolPilot fills in recommended settings. Set the nightly price guests pay for pool and spa heating, or choose Free if heating is included in the stay.
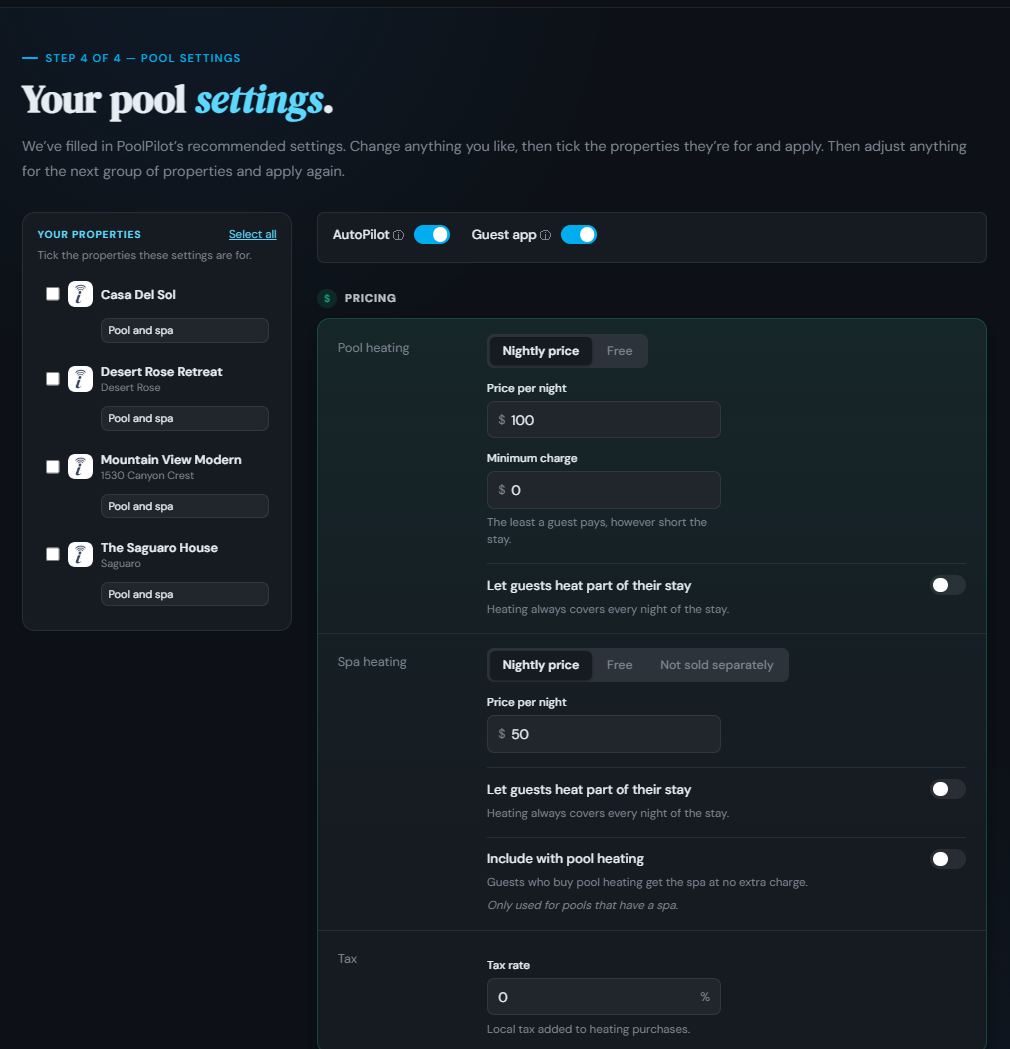
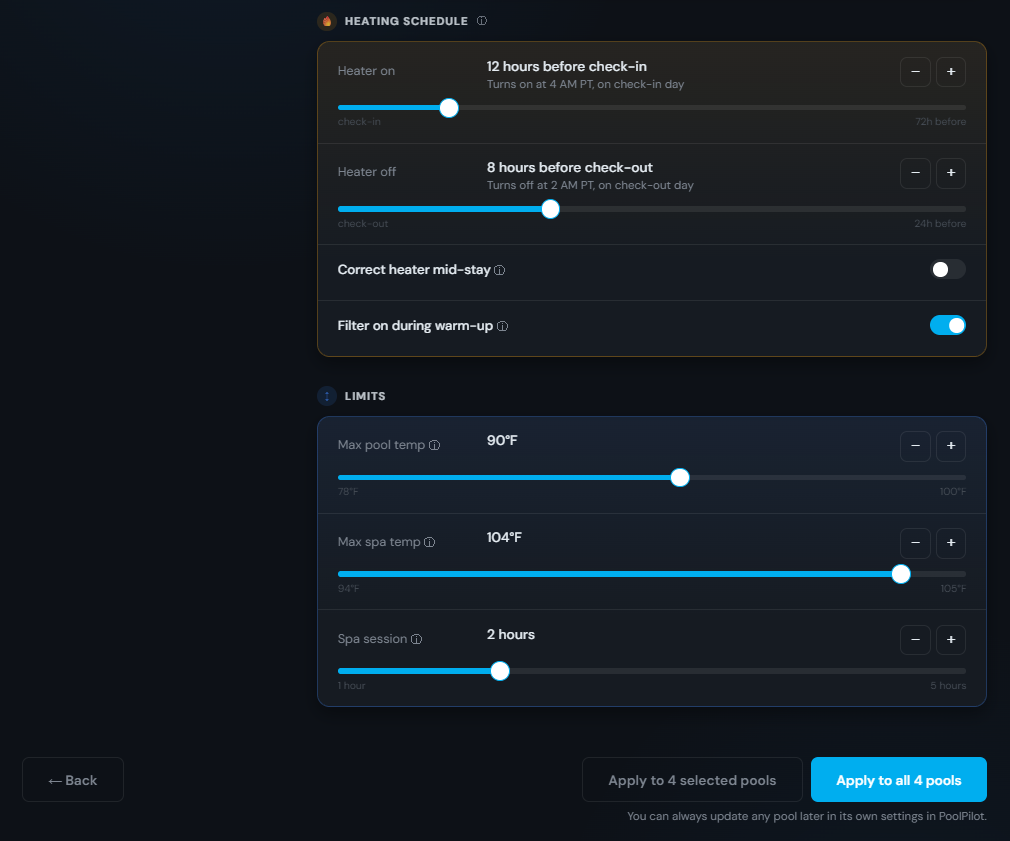
Below the prices are the heating schedule and temperature limits. Tick the properties on the left that these settings are for, then click Apply. If some properties need different settings, change them and apply to those properties next. You can change any pool's settings later in PoolPilot.
9Review and accept the agreement
You'll see your pricing and the PoolPilot Software Subscription Agreement. Read it here, or click Open the agreement in a new tab to print a copy.
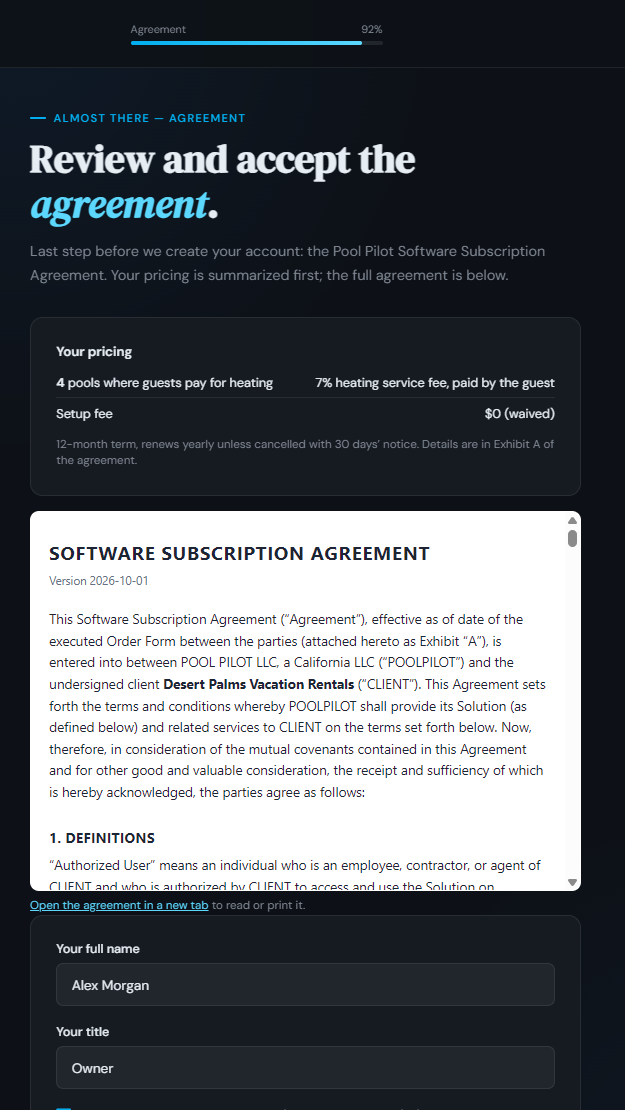
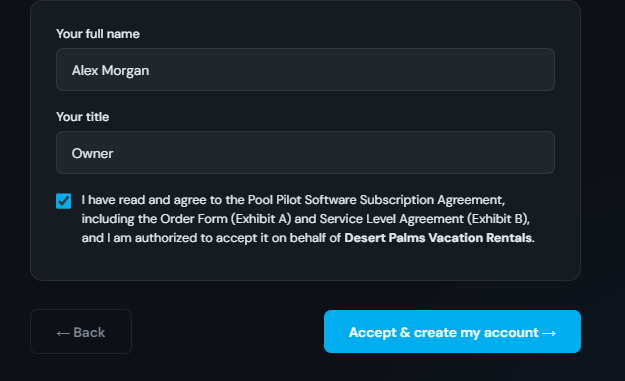
Type your name and title, tick the box to accept, and click Accept & create my account. This creates your PoolPilot account.
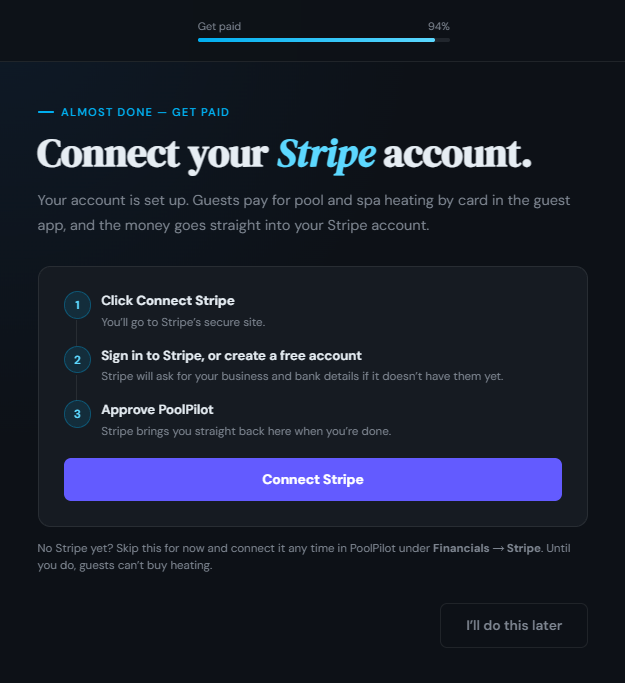
10Connect Stripe
Guests pay for heating by card, and the money goes straight to your Stripe account. Click Connect Stripe, sign in to Stripe (or create a free account), and approve PoolPilot. Stripe brings you back when you're done.
No Stripe yet? Click I'll do this later. You can connect it any time in PoolPilot under Financials > Stripe. Until then, guests can't buy heating.
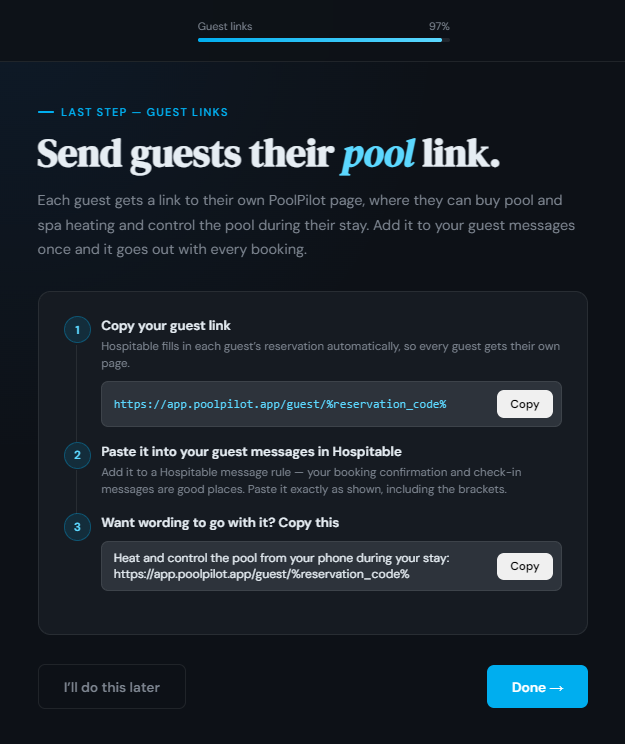
11Add the guest link to your Hospitable messages
Each guest gets their own PoolPilot page to buy heating and control the pool during their stay. Copy your guest link and add it to a message rule in Hospitable, such as your booking confirmation or check-in message:
https://app.poolpilot.app/guest/%reservation_code%
Paste it exactly as shown. Hospitable replaces %reservation_code% with each guest's reservation code, so every guest gets the link for their own stay.
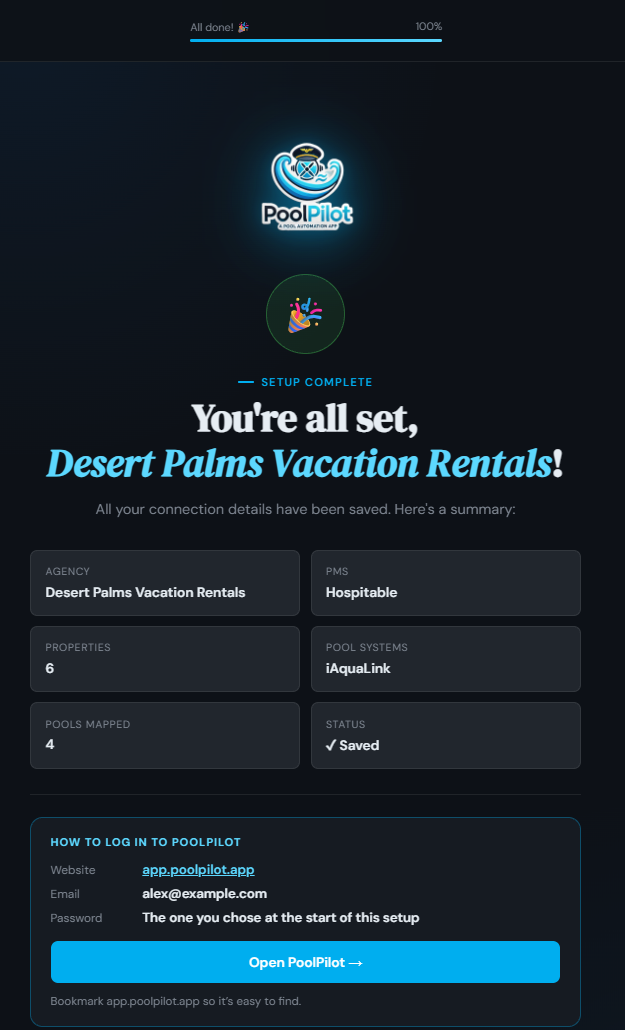
You're all set
Your account is ready. Sign in at app.poolpilot.app with the email and password from step 1 to see your pools, reservations and heating schedule. New Hospitable reservations come into PoolPilot automatically.
Need help?
Email support@poolpilot.com and we'll walk you through it, or book a training call from the last screen of setup.